Spring is here!
Now that the snow has melted and the crocuses are cropping up, it’s time to start boating again! De-winterizing is a spring ritual that signals fun days ahead. This annual cleaning and preparation for launch will prevent problems and ensure that you enjoy your boat as fully as possible when you’re ready to take it out on the water.
The last thing you want to face on that first warm spring day on the water is a broken boat and a hefty repair bill. While some boat owners opt to have a professional or a marina handle de-winterization for them, there’s no reason you can’t do it yourself. If you know what items need to be taken care of, you can save some cash while reaping the reward of caring for your own boat. And if you have family or friends who are willing to help in exchange for some time out on the water with you, the process will go much faster!
There are many different types and sizes of boats, so you should always check your owner’s manual for special instructions or considerations. But this comprehensive checklist should help make sure you’ve covered all the essentials.
Hull, Deck, Topsides, and Propellers
1. Inspect the hull. Damage can occur with any storage method, in any location, so you’ll need to look the hull over for possible issues. First check your boat cover for any tears, then examine the hull inch by inch. Are all the screws and fittings still tight and lubricated? Do you see any cracks or blisters? How does the paint look? Make any needed repairs, and touch up any areas where the paint is looking worn.
2. Clean the hull, deck, and topsides. While a quality, vented cover should eliminate mold or mildew problems, you may experience these fungi if you’ve used a tarp or non-vented cover. Now’s the time to look for mold or mildew that may have snuck under your cover, and scrub accordingly. Depending on how bad the mold or mildew is, you may need a commercial mold and mildew cleaner or a solution of diluted bleach (one part bleach, three parts water) or 3% hydrogen peroxide. (Just be careful not to use bleach or peroxide on wood or colored fabrics.) You’ll want to use protective gear to prevent breathing in spores or getting spores on your skin, which can cause irritation and other health problems. Be sure all mildew and mold spots are addressed thoroughly. If spores are allowed to linger, they’ll grow and spread, causing headaches (literal and metaphorical!) later on. Using a non-abrasive cleaner, wash the hull, deck, and topsides thoroughly.
4. Wax the hull to protect and preserve the paint.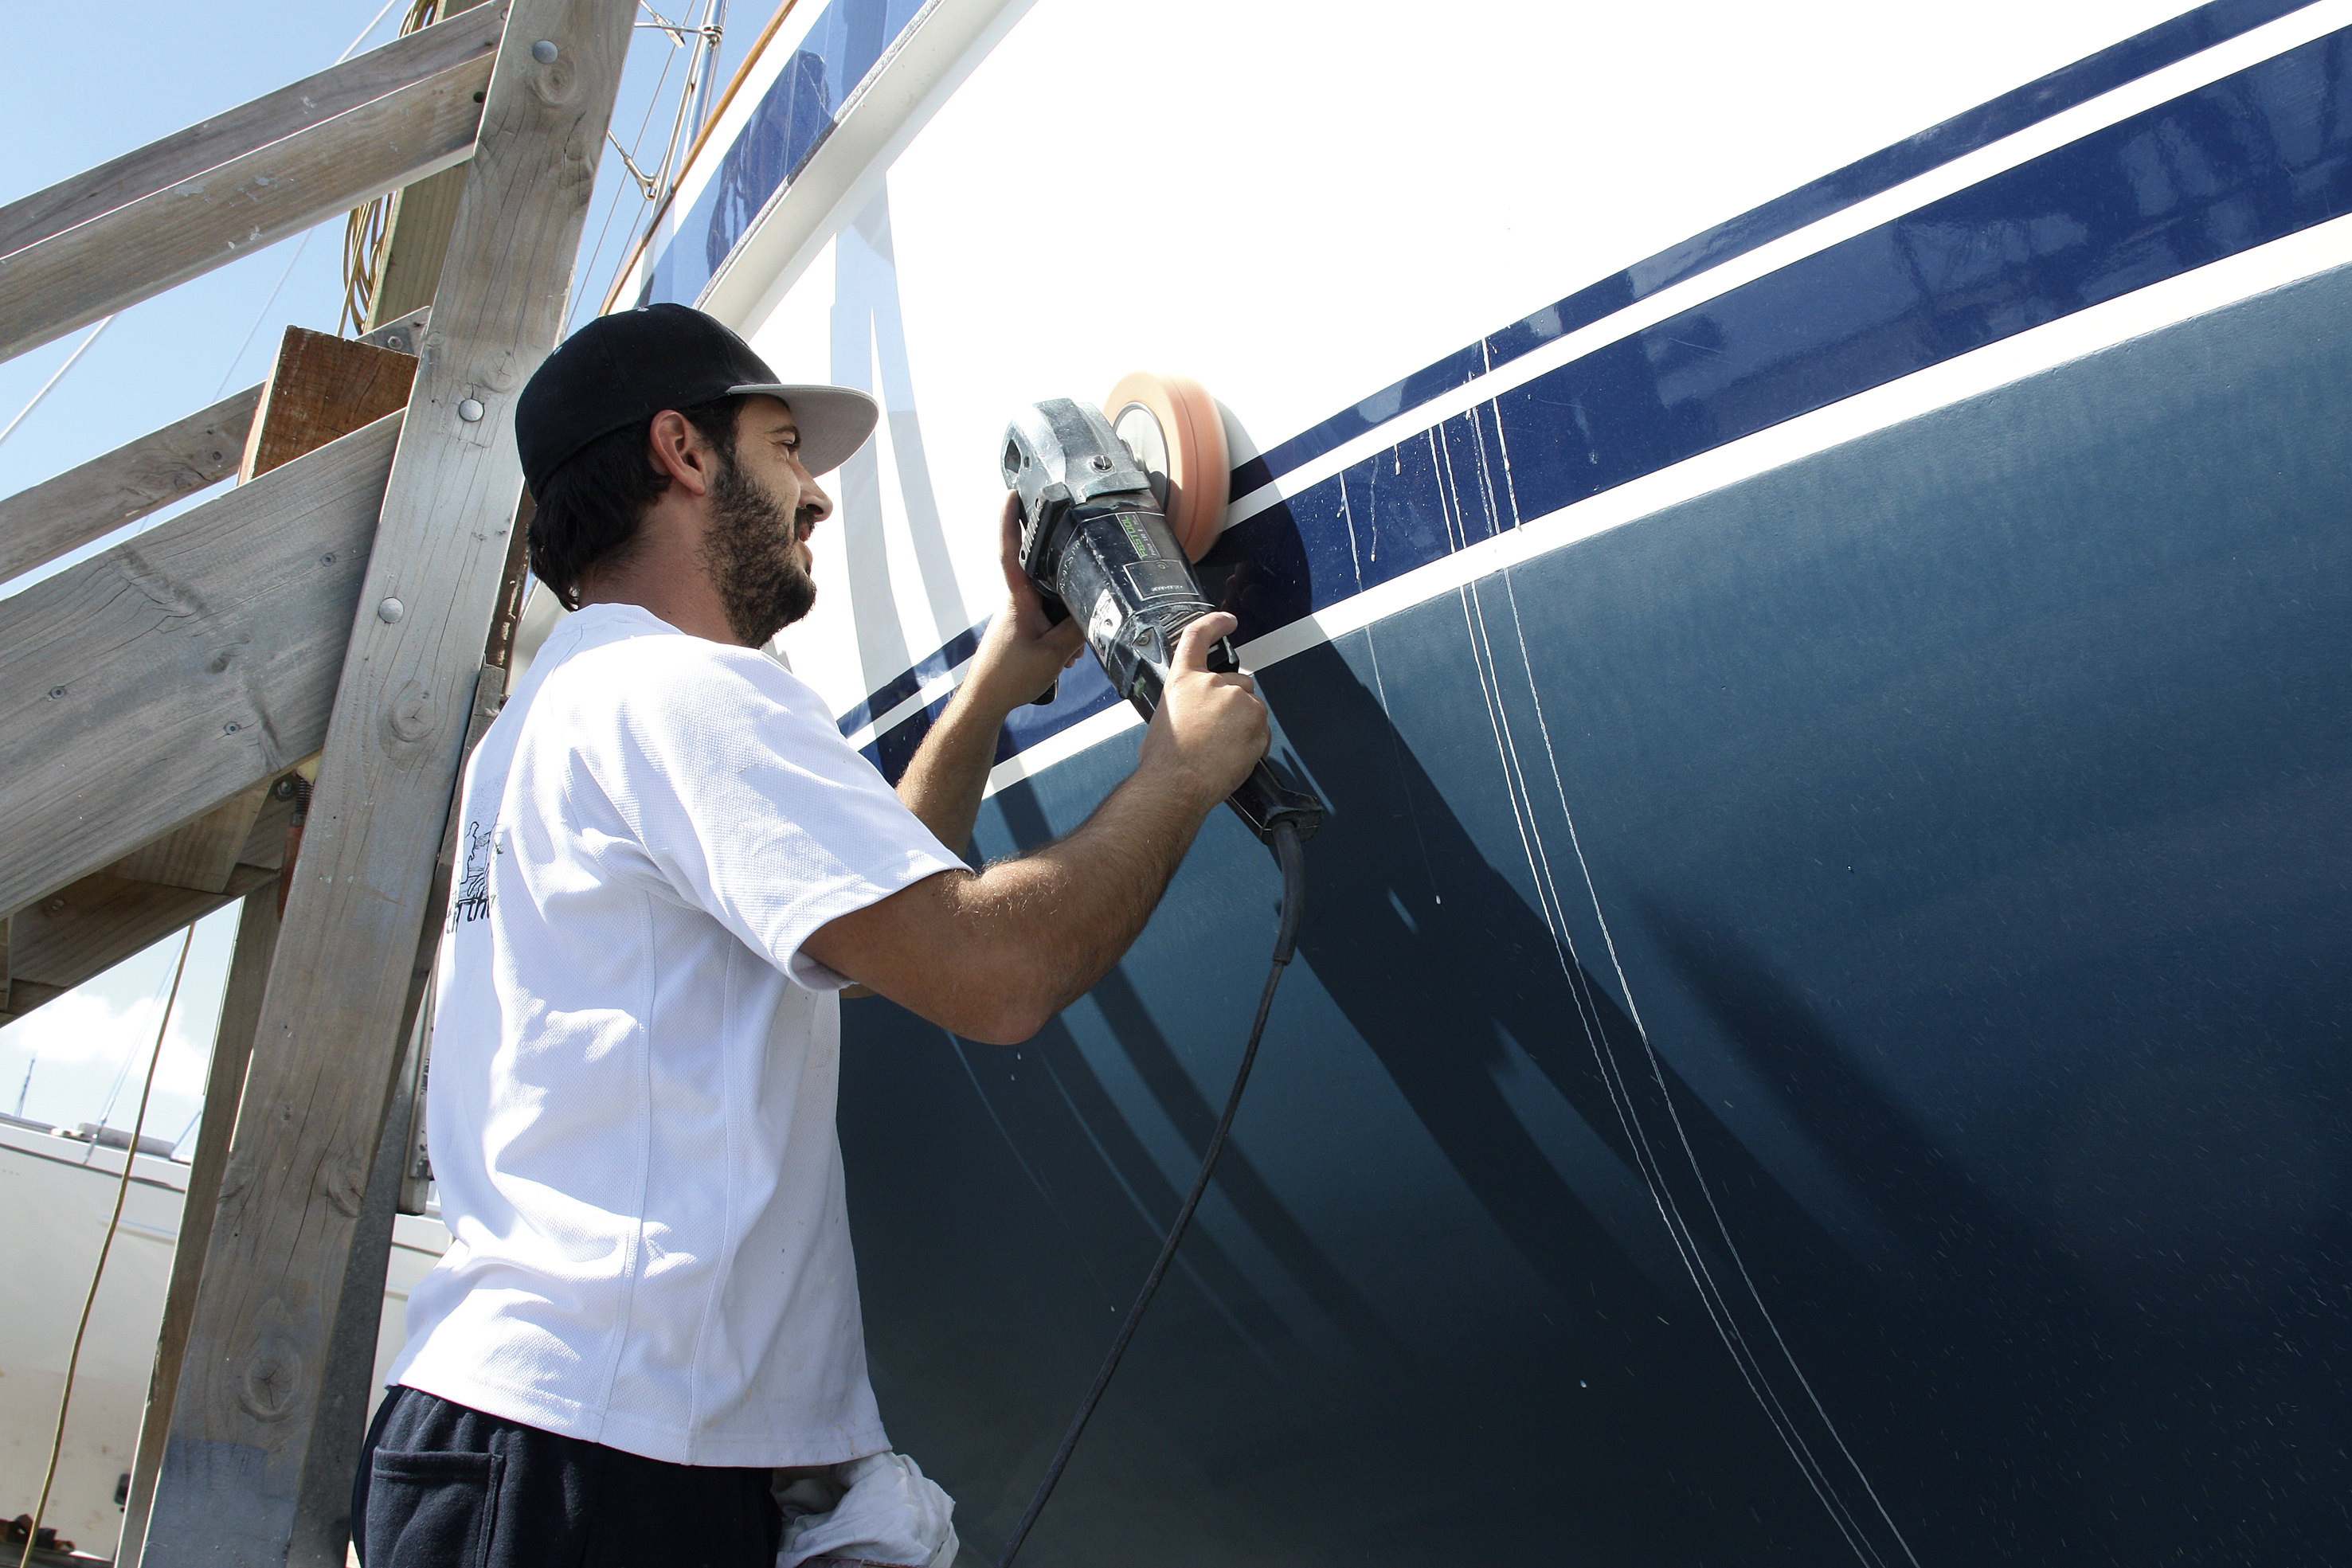
Waxing can extend the life of your paint by two or three seasons, so it’s a good idea to wax if you haven’t done it recently.
5. Examine propellers for pitting, cracks, or distortion.
Keeping your propellers in top shape is important, because damaged propellers can cause problems for your drive train. Make sure the propellers are secure, and replace bearings if necessary.
6. Ensure that the drain plug is securely in place.
You don’t want to be surprised when you get out on the water!
7. Check your trailer if you store your boat on one. This is a good time to examine your trailer as well. Are all the supports in good condition? Is the wiring undamaged? Are the brake lights and turn signals in working order? Do you see any chipped paint or rust spots? Make any repairs that are necessary. Don't forget those dingy and personal water craft trailers!
Batteries and Electrical
8. Clean and Charge the batteries. Clean the terminals and cable ends, then charge the batteries and test them to see if they can hold a charge. Install the batteries. It’s a good idea to use stainless steel lock nuts to prevent the cables from loosening up.

9. Inspect and check that all electrical items and electronics are working properly. Look at all electrical connections — you want to see clean, tight, corrosion-free connections. Test the helm and cabin switches. Is everything functional? Don’t forget to turn off the battery switch to make sure the automatic bilge pump float switch works correctly. Especially look for melted or burned connections! These must be repaired or replaced. Please do not put these items into service. They are a hazard to your safety!
10. You may want to have electrical systems inspected by a qualified technician.
If you don’t see any damaged items and if everything seems to be working correctly, you’re probably all set to go. However, if you notice any damage or any potential problems, you’ll want to bring in a professional electrician who can safely address them.
11. Replace burnt out light bulbs.
This step is easy to forget, but important. You may want to store extra bulbs on the boat in case one goes out while you're on the water. In fact, you might want to consider upgrading to LED bulbs. There are usually direct replacements for the old G4 style bulbs. These will lessen the draw on your batteries and give you better light. There are many options to choose from both and color (warm white, soft white or cool white) as well as side pins and back pins.
Water System
12. If you winterized your water system, remove the antifreeze before re-commissioning. If you used antifreeze in the fresh water tank, be sure to flush it out before connecting the pump and flushing the water lines.
13. Re-commission the water system. Before you use your water system, be sure to disinfect it. We have prepared an article that you can print out take to the boat and follow. Even the worst water system can be restored to new and safe for use by following the step by step instructions. Download the How to Re-commission your Fresh Water Tank Safely guide
Fluid Levels
14. Check all fluid levels. Including engine oil, power steering fluid, transmission or overdrive, coolant and if you have a hydraulic lift, check the fluid levels there as well.
15. Change the engine oil, oil filter and drive lubricants. If you didn't change them during the winterization process, you'll want to do that now.
Belts, Cables & Hoses
16. Ensure that belts fit tightly around pulleys and that they are not worn. Replace any worn belts.
18. Check hoses for cracks and brittleness. Replace any damaged hoses. Look for cracks or swells on the outer jacket of throttle, shift, and steering control cables. These could signal internal corrosion. Replace any damaged cables.
Fuel System
19. Inspect the fuel system for leaks or damage. Look closely at fuel hoses, connections, and tank surfaces. Do you see any softness, brittleness, or cracking? Replace damaged components. Be sure all fittings and clamps are sufficiently secure.
20. Check that the engine, exhaust, and ventilation systems are functional. If you notice any problems, bring in a professional to fix them.
21. Service engine “seawater pumps” every other season. If you can’t remember if you serviced the seawater pumps last year, go ahead and do it now. Grease the attaching hardware.
22. Address your fuel. If you didn’t fill your tank three-fourths full and add fuel stabilizer before storing for the winter, you’ll want to pay special attention to your fuel. Fuel can become contaminated if left sitting, so if you are unsure about the condition of the fuel that was left in your tank over the winter, drain and refill with fresh fuel that contains less than 10% ethanol.
23. Examine the condition of the control cables and check the safety/kill switch. If you notice any deterioration or encounter a malfunction, repair or replace worn or bad parts.
24. Prime the fuel system if you have an electric fuel pump. If you dry run an electric fuel pump, you will severely damage it.
25. Make sure your engine runs properly. No matter what kind of engine you have, check your owner’s manual for any specific instructions on starting your engine after winter storage. Once you start it, listen to the sounds it makes. If you hear anything abnormal, consider bringing in a professional to diagnose the problem. Also test to see if the engine responds normally when you rev it briefly.
Safety Gear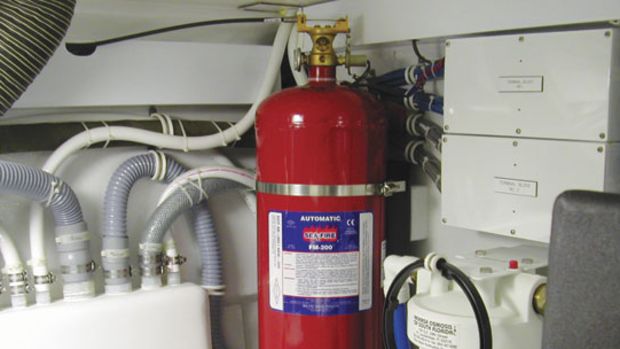
26. Check that flares, extinguishers, and flotation devices are not expired. Additionally, make sure that they are compliant with all regulations. Do you have one of the new Coast Guard approved LED Flares? Don't forget to replace the batteries with fresh ones. Tip: Use a black sharpie to mark the date on the batteries and enter it into your Captain's log so you know when they were last changed.
27. Examine your life jackets. Are they in good condition? Are there enough on board for all potential passengers? Considering all the people who will be using your boat, do you have the correct size life jacket for each individual’s body weight?
28. Be sure all onboard fire extinguishers are the correct class for your boat. Are they fully charged and stowed in the proper locations? Don't forget the automatic system in the engine compartment. Ensure that there are no errors or faults in the monitoring system if you have one.
29. Double check that you have carbon monoxide detectors in all enclosed or semi-enclosed areas. Are they properly installed? Have they expired? Test to make sure they are functioning as they should. Click here to read an article from Fireboy-Xintex about End of Life on CO detectors.
30. Obtain an EPIRB if you don’t have one. Even on the Great Lakes, an Emergency Position Indicating Radio Beacon (EPIRB) is used to alert search and rescue services in the event of an emergency. It functions by transmitting a coded message on the 406 MHz distress frequency via satellite and earth stations. Some models of EPIRBs also have built-in GPS, which enables the rescue services to accurately locate you.
31. Check your VHF Radio's MMSI number to ensure Digital Select Calling (DSC) is working. If you replaced your VHF Radio over the winter and it has DSC, make sure that you have registered it on the BoatU.S.website. Your VHF radio is the single most important piece of safety equipment you can have on board your vessel. By using a VHF radio with DSC capability, you increase your safety dramatically by taking advantage of enhanced communications options. These options link you to other vessels and rescue facilities, providing a strong, modern safety net. Register your radio here It is free if you are a BoatU.S. member and $25 if you are not.
32. Take advantage of any safety inspections offered by the US Coast Guard (USCG) or other organizations. Our own PtYC has safety inspections available to you, so take advantage of it as it’s smart to have one done.
33. Download a safety checklist app. If you are not sure exactly what you need for safety, there are several checklist apps, such as The Boat Essentials Safety Checklist, that can be helpful.
While the list is long and de-winterizing is a lot of work, preparing your boat for spring can be an enjoyable task, especially if you’re doing it with family or friends. Cleaning and preparing your own boat, rather than hiring it out, can save you money, freeing up the cash you would have spent for other purposes — like new gear. As you work, dream of the water!